Well everyone my computer is really and truly fried. I'm using my parents computer until I can get a new one. To help fund my new laptop I've decided to sell some spots on the side of my blog to sponsors. I'm looking for small business (such as Etsy shops) who want to place a small ad on my blog. I would like businesses that sell something related to my blog content, such as vintage.
The prices will be (per month):
$5 for 170px by 50px sized ad
$10 for 170px by 170px sized ad
(I may be open to exchange of merchandise for an ad too, so send me an email if you wish to negotiate!)
Please email me at purlsofthepast@live.ca if you are interested!
▼
Tuesday, May 29, 2012
Wednesday, May 23, 2012
Long May Weekend
I had a lovely long weekend up at my grandmothers cottage. We did quite a bit of shopping, and I managed to get a lovely vintage hat for my collection and a gorgeous long blue trench coat. I also bought a few books (I'm a bit of a book addict) and some fancy alpaca socks!
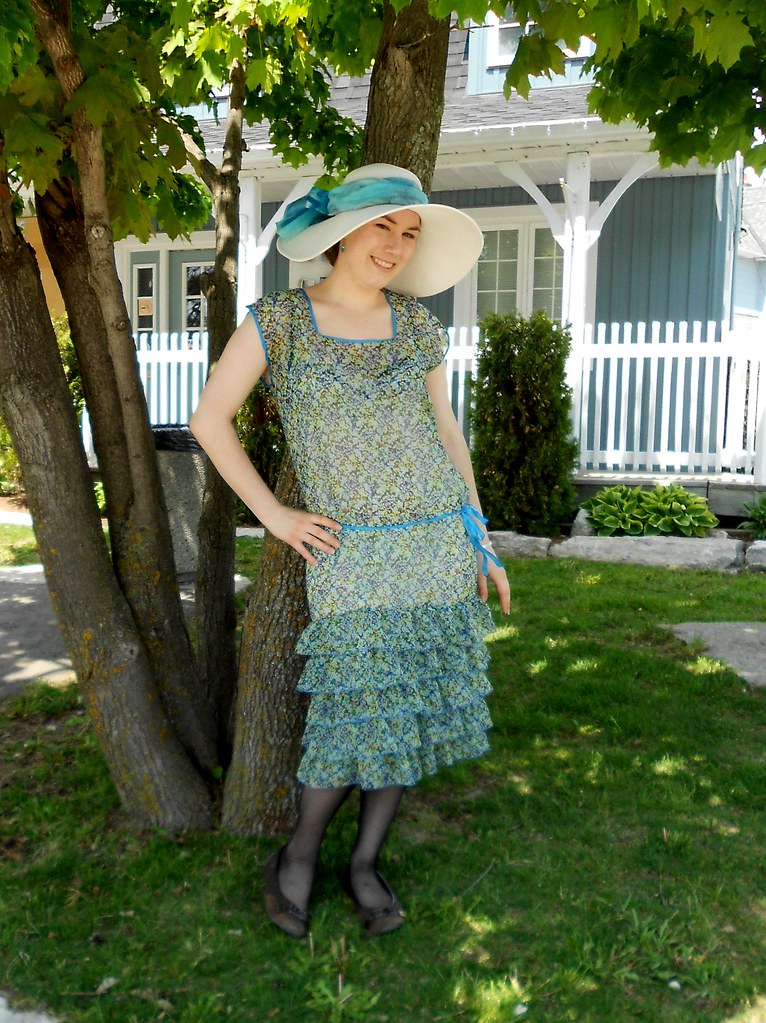
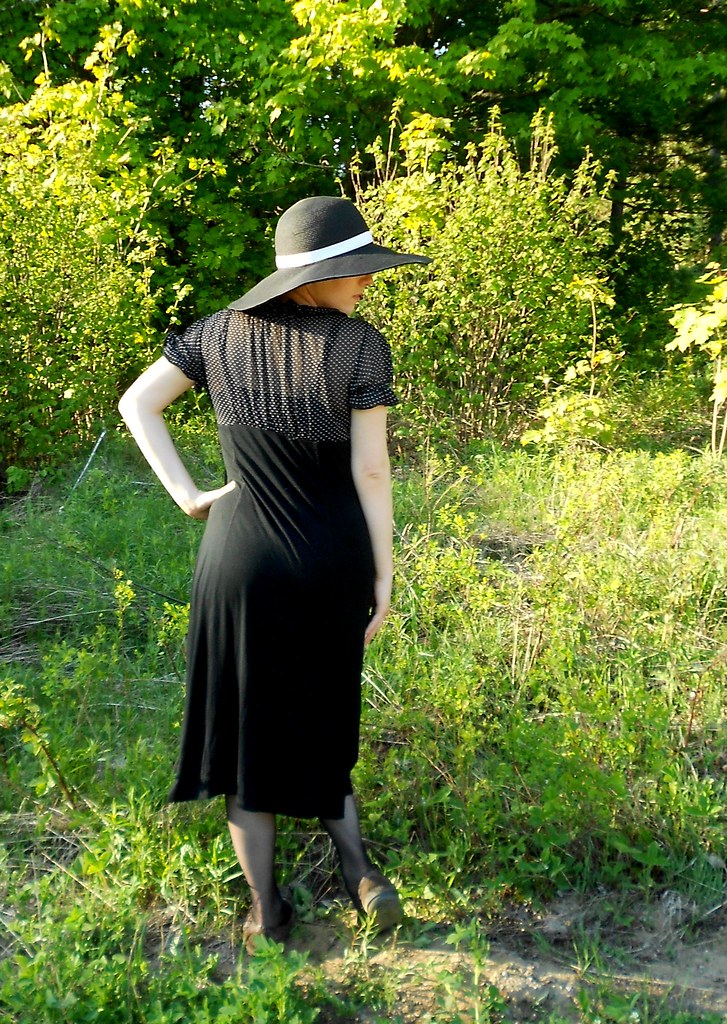
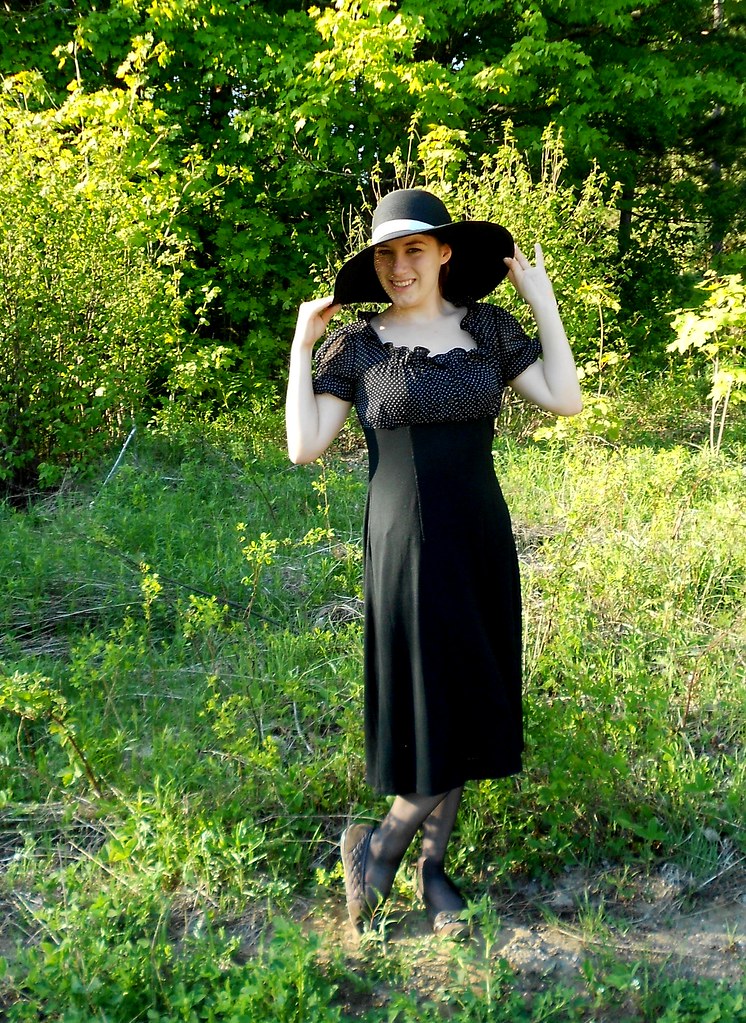
Most of the time was spent wearing pajamas (and even occasionally my only pair of jeans!) but I did dress up the few times we went into town. My mom was nice enough to snap some pictures of a couple of my outfits.
While I was away I seemed to have gotten very close to 300 followers! I am going to have to start putting together a giveaway! Hope everyone had a lovely long weekend (or normal weekend for those of you who don't live in Canada).
That's All.
Most of the time was spent wearing pajamas (and even occasionally my only pair of jeans!) but I did dress up the few times we went into town. My mom was nice enough to snap some pictures of a couple of my outfits.
Outfit Details:
Dress: Made by me using my 1920's dress tutorial
Shoes and Hat: The Bay
Scarf (tied around the hat): Thrifted
Outfit Details:
1930's-style Dress: Winners
Same shoes as before
Hat: The Bay
 |
| This sign amused me. |
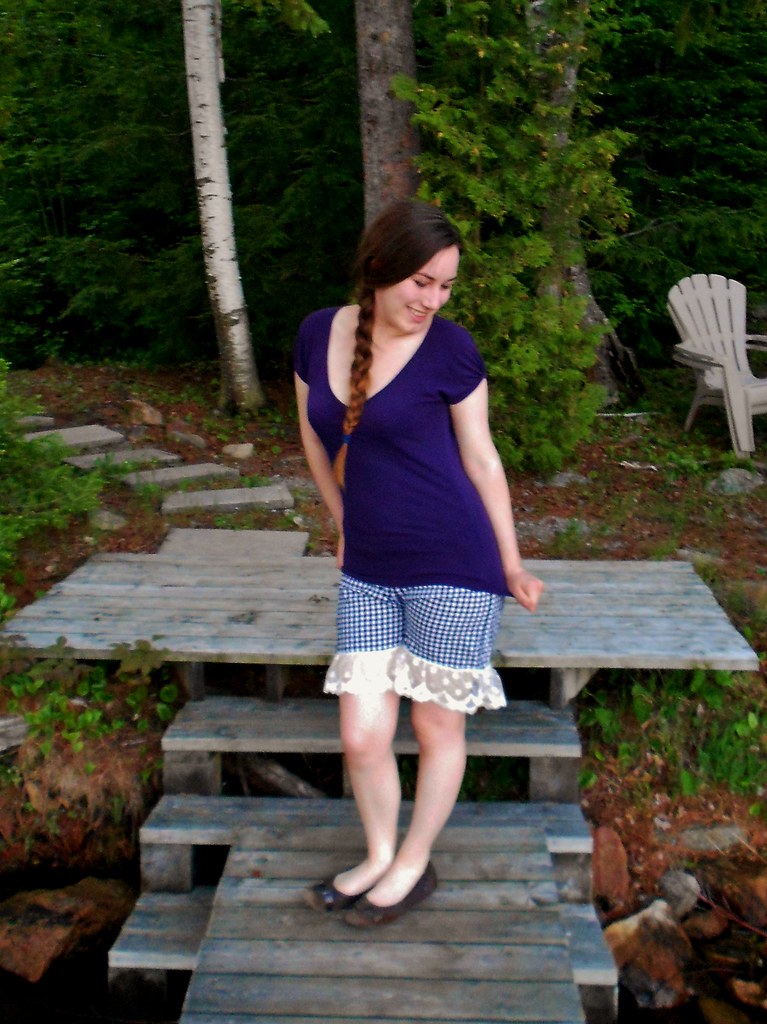 |
| I don't own shorts so I had to wear my bloomers when it got really hot outside! |
While I was away I seemed to have gotten very close to 300 followers! I am going to have to start putting together a giveaway! Hope everyone had a lovely long weekend (or normal weekend for those of you who don't live in Canada).
That's All.
Thursday, May 17, 2012
Singing in the Rain
This is just a quick post to let everyone know I have a new video up on youtube.
I'm off to my grandmother's cottage for the weekend, so I will be sure to post about my adventures when I get back! (haha "adventures" makes it sound very exciting but most of the time is spent sitting around drinking tea)
That's All.
I'm off to my grandmother's cottage for the weekend, so I will be sure to post about my adventures when I get back! (haha "adventures" makes it sound very exciting but most of the time is spent sitting around drinking tea)
That's All.
Wednesday, May 9, 2012
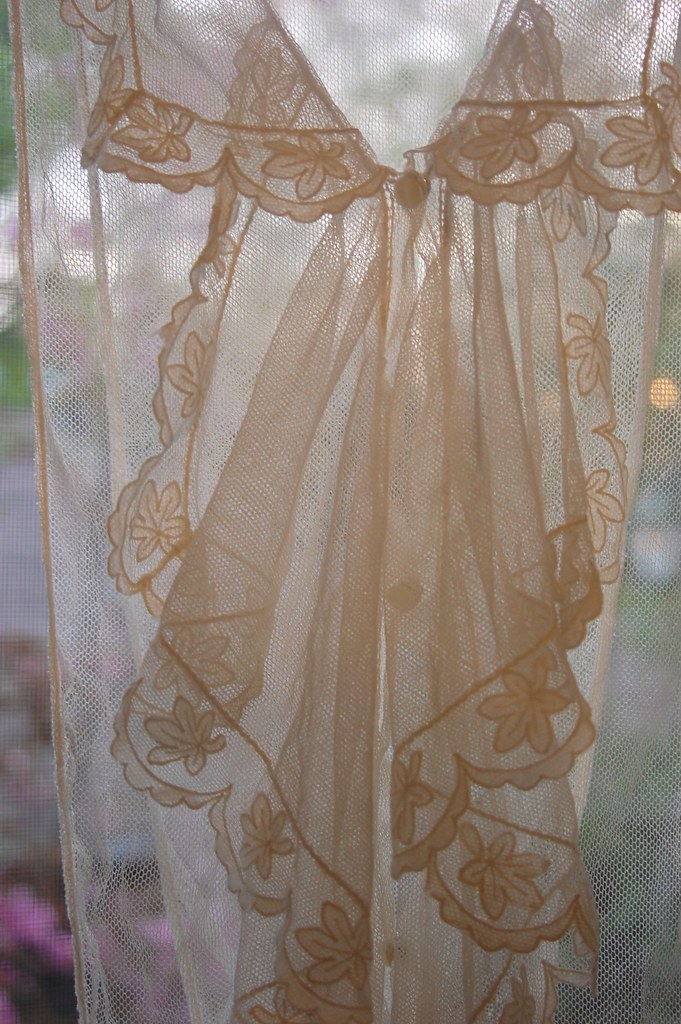
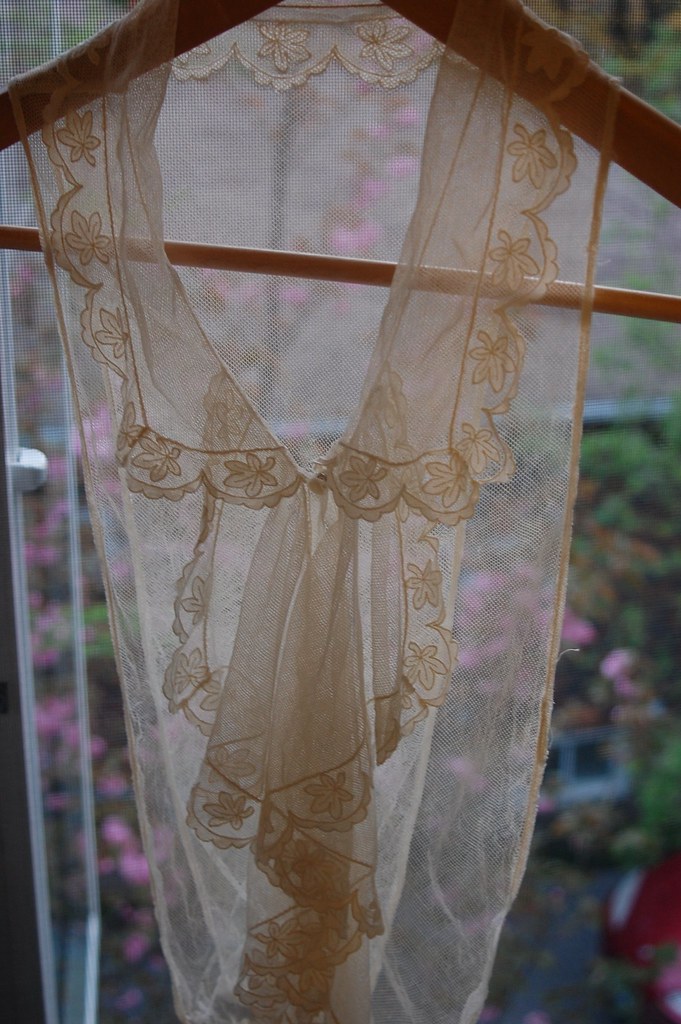
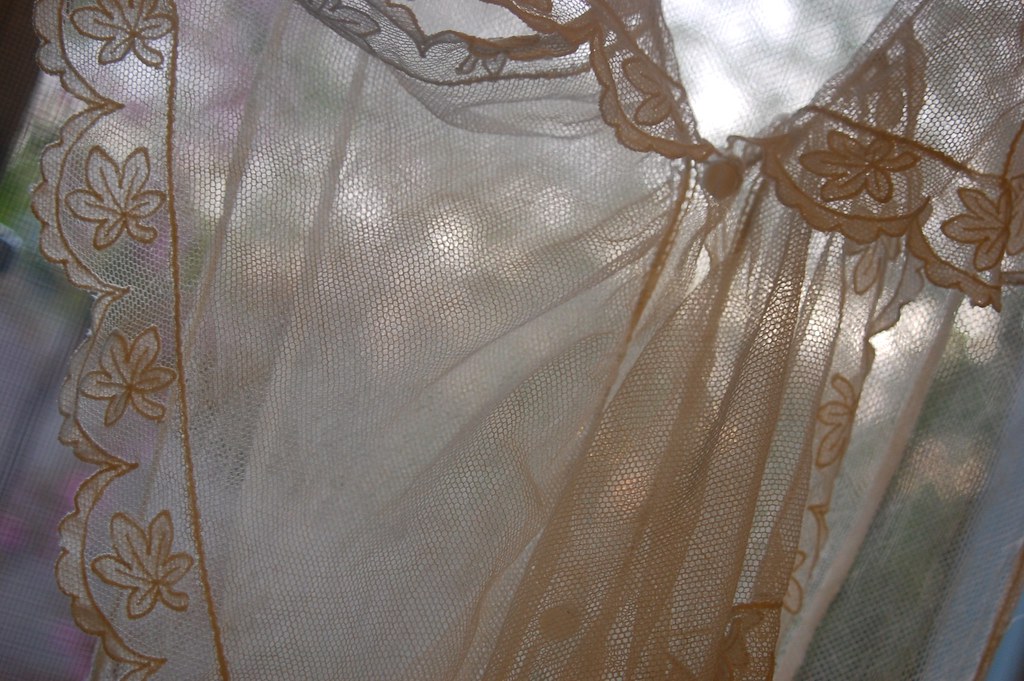
Some Forgotten Victorian Lace
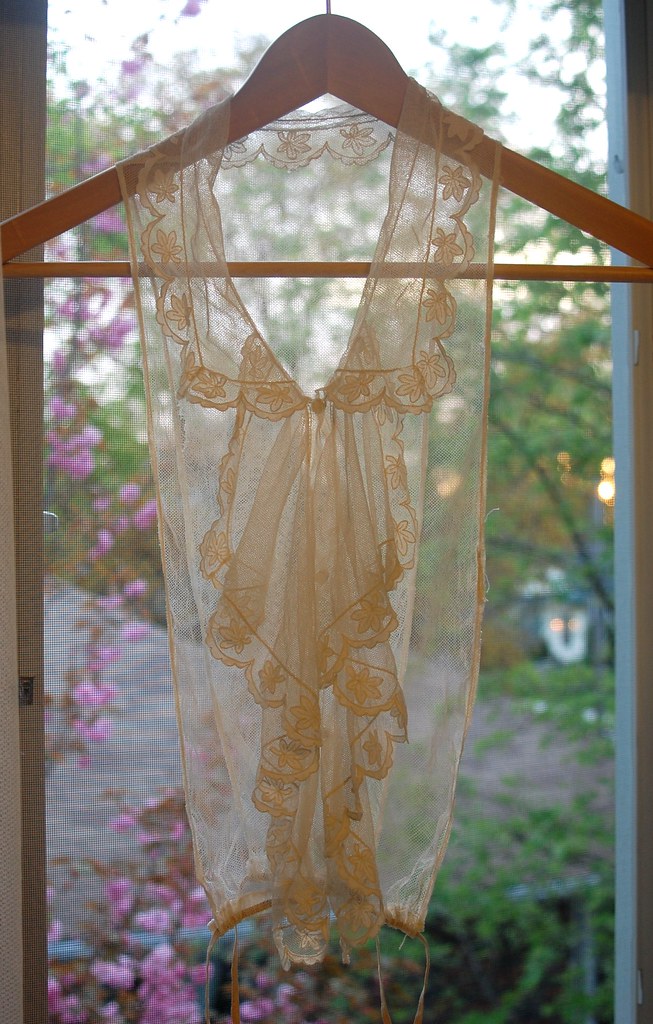
I was lucky enough to have this beauty in my care for about a week. It's a Victorian (or possibly Edwardian) lace dicky. It's basically a false shirt front and would have been worn under a jacket or dress. It appears to be entirely hand sewn.
My grandmother volunteers at a local museum and brought this lovely piece home to wash. Apparently it was crumpled up behind something and at first she thought it was a rag! The museum is run by volunteers so unfortunately some of the items are not as well cared for as they should be. My grandmother gave it to me since she knows I have a better understanding on how to deal with vintage fabrics. It wasn't actually dirty, so I gave it a quick steam clean to bring it back to it's former glory. It has a few smalls tears but is generally in good condition. It has since been returned to the museum, but it was lovely to look at hanging in my room for the week.
That's All.
Thursday, May 3, 2012
DIY Framed Flowers
I realized the only way I'm going to be able to keep posting regularly is to schedule posts. This way when I have a bit of spare time (and inspiration of course) I can write a couple posts all at once. So for my first scheduled post I'm posting a little DIY project. Well hopefully posting. The new blogger format has me slightly confused...
Framed Flowers
Pressed flowers are a very "vintage" decoration to have around the house. I think they look lovely and will be the perfect accessory in my future home's Victorian inspired study/library. (That's on my must-have list!)
You will need:
-Fresh flowers
-A frame (choose one where the back is in direct contact with the glass)
-Background paper (You could use fancy card paper, stationary, wrapping paper, etc. I used large paint chips I picked up for free at a hardware store)
-A heavy book (or a flower press if you have one).
-Pen and ink (optional)
Step 1: Gather your fresh flowers .You could use store bought ones. I'm using ones I gathered from my dad's garden. Place them in the book to press them flat. If you are worried about getting your book dirty, place parchment paper in between the flowers and the pages of the book.
Step 2: Be very patient. This is the hard part. You will need to let your flowers dry for at least a couple weeks. Make sure the book is not disturbed and is placed flat on it's side. When they are dry carefully remove them from the book.
Step 3: Cut your background paper to size. As mentioned, I used large paint chips for mine. The paint chips were slightly too small for my frame so I used two. I used pen and ink to write on the paint chip the approximate date and place the flowers came from. You could also label what type of flowers you used. This would look amazing if you have nice handwriting. I don't, but I still think it turned out ok.
Step 4: Arrange the flowers directly on the inside of the glass. When you get a grouping you like carefully place the background paper on top. Then carefully replace the back of the picture frame and secure it. Hopefully none of the flowers slipped out of place while you were doing this! If they have, simply remove the back and repeat this step.
Step 5: Enjoy your new pressed flower artwork!
Here is a simpler version I made last year with some forget-me-nots (my favourite flower).

