
Exams are finished and I have been enjoying my mini holiday a lot. Most of my time is spent sewing, and as a result I have been able to complete part 2 of the umbrella revamp I promised you guys weeks ago! Well here it is. Part one can be found here.
You will need:
-Umbrella fabric
-A piece of elastic 1” shorter than the circumference of your head (measure where you want the shower cap to go around).
1) Cut umbrella fabric into a circle with at least a 12” radius. If you plan on wearing the shower cap over foam rollers use a larger radius.
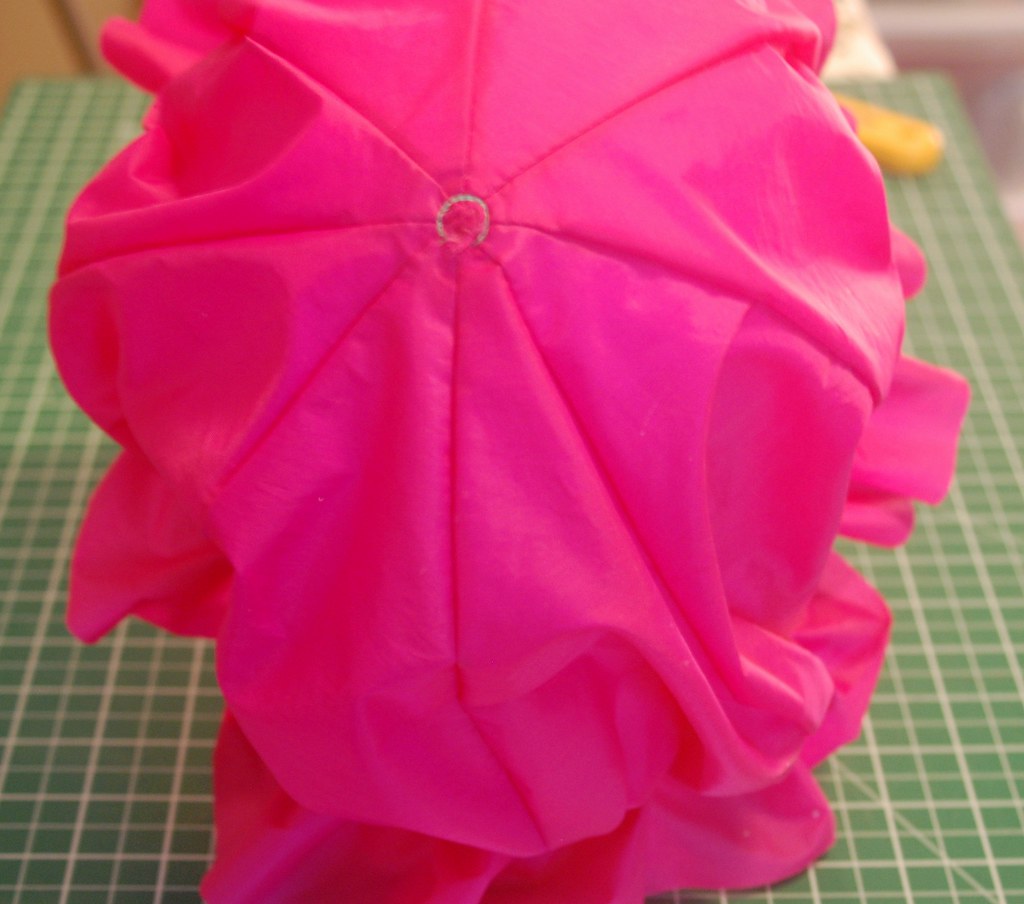
2) Sew an elastic 2 ½ “ from the bottom using a zig zag stitch
3) Seal the hole in the centre with a dab of hot glue (smoosh it into the hole when it is still warm but cool enough to touch to get a better seal)
That’s it! You can finish the edge of the cap if you wish but I haven’t had a problem with it fraying so I didn't bother.
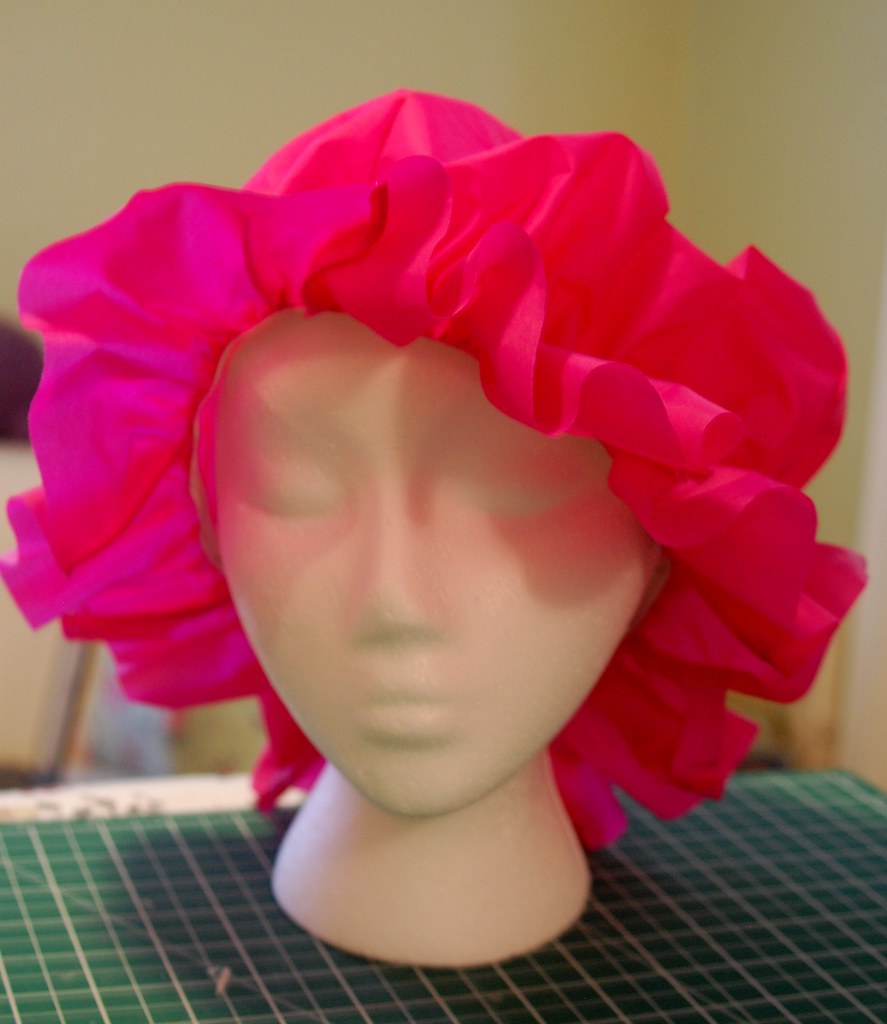
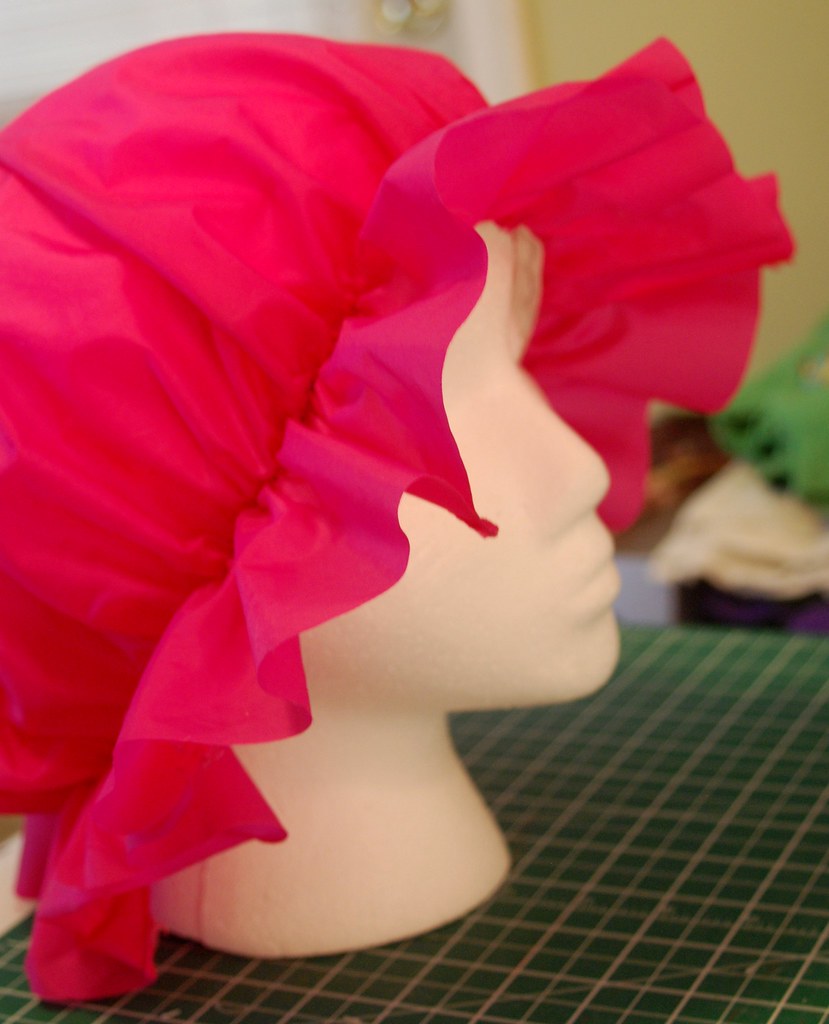
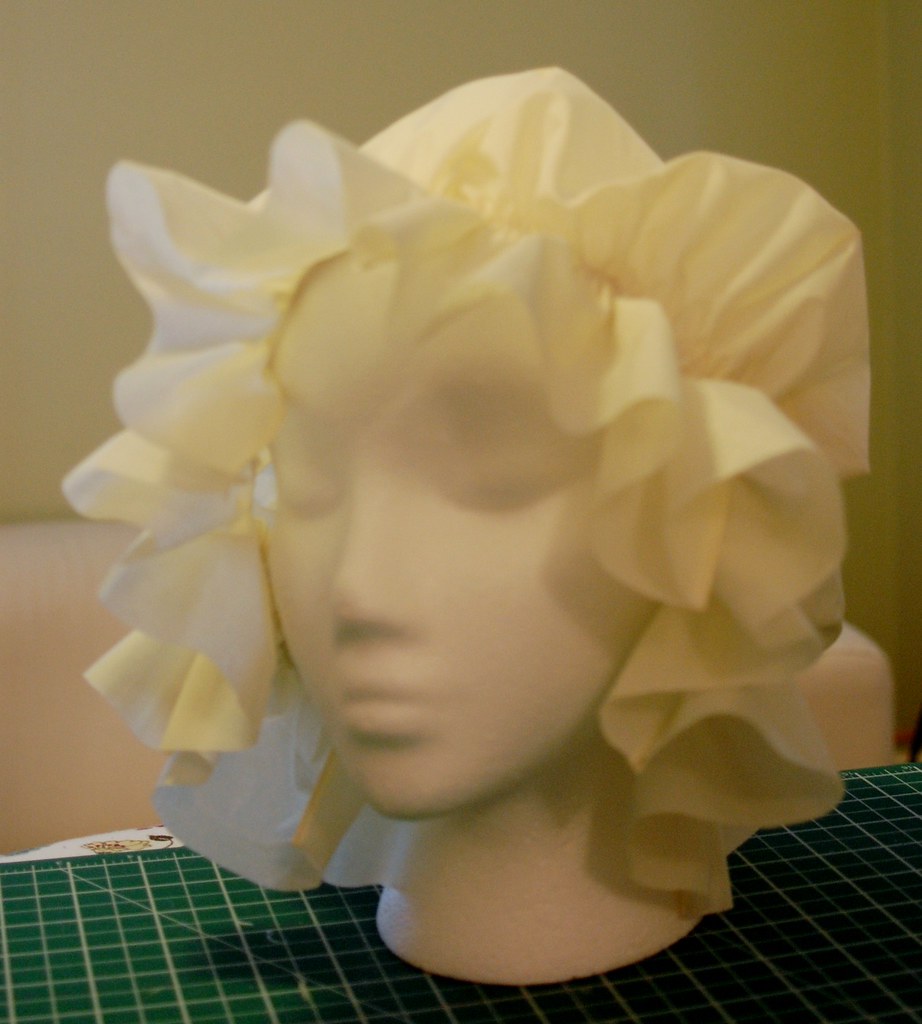
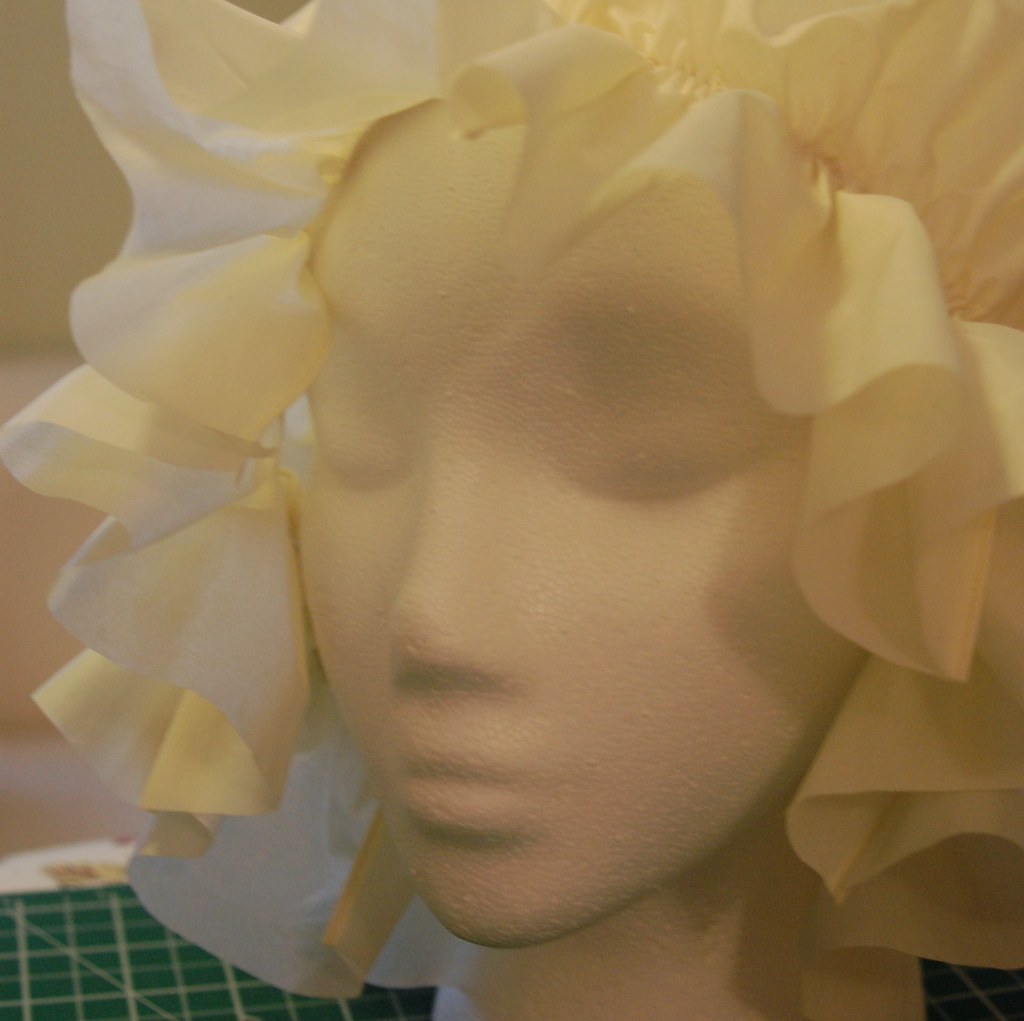
Here are some photos of the final project. The first one I made slightly smaller and the white one is a bit larger in order to accommodate foam rollers. The foam head is slightly smaller than real head size but it you want a better idea how it fits check out my photos of the pink one from earlier this year.
I absolutely love these charming shower caps! Fantastic work, dear gal - you've got me yearning to take a bubble bath right now! :)
ReplyDelete♥ Jessica