Showing posts with label decor. Show all posts

Thursday, January 12, 2012

My Mini Vanity Table

About two weeks ago I moved into a new place for the term. The only good thing about moving every 4 months is I get to redecorate a new room. This of course presents a lot of challenges in terms of not being able to physically alter anything (like paint colours) and being limited in the amount of stuff I can bring with me. 

One thing I always try to have is a vanity table. This may sound sort of frivolous but with 3 girls sharing one bathroom I need somewhere in my room where I can do my hair and makeup in the morning. I would love to have a real vanity table but that would be too difficult to transport and there isn't enough space in my room for one anyways. Instead I always create a "mini vanity table". The basic setup includes a small folding table, a small stool, a mirror, and a light. Here is how I set it up: 

This is my "mini-vanity" table. I have it located between my closet and my dresser. I use a drawer in the dresser to store my less frequently used products and my hair stuff, but more on that later. The table cloth I custom made to fit the table and I used a bit of vintage lace around the edges. 
Here is a closer view of the vanity. I have attached an old spice rack to the wall with a removable hook (which I tried to cover with a flower since plastic hooks are not the most attractive things). 
I have an antique powder container for my face powder, and the bottle was a gift that I use for my homemade perfume.  My brushes are in a tea box that I liked the look of. Ideally I would have a separate container for my makeup brushes but I forgot the one I was going to bring so everything is in one box at the moment. 
Closeup of the spice-rack. I use it to store my various oils and other frequently used products.
The two drawers hold cotton-balls and cotton-swabs. 
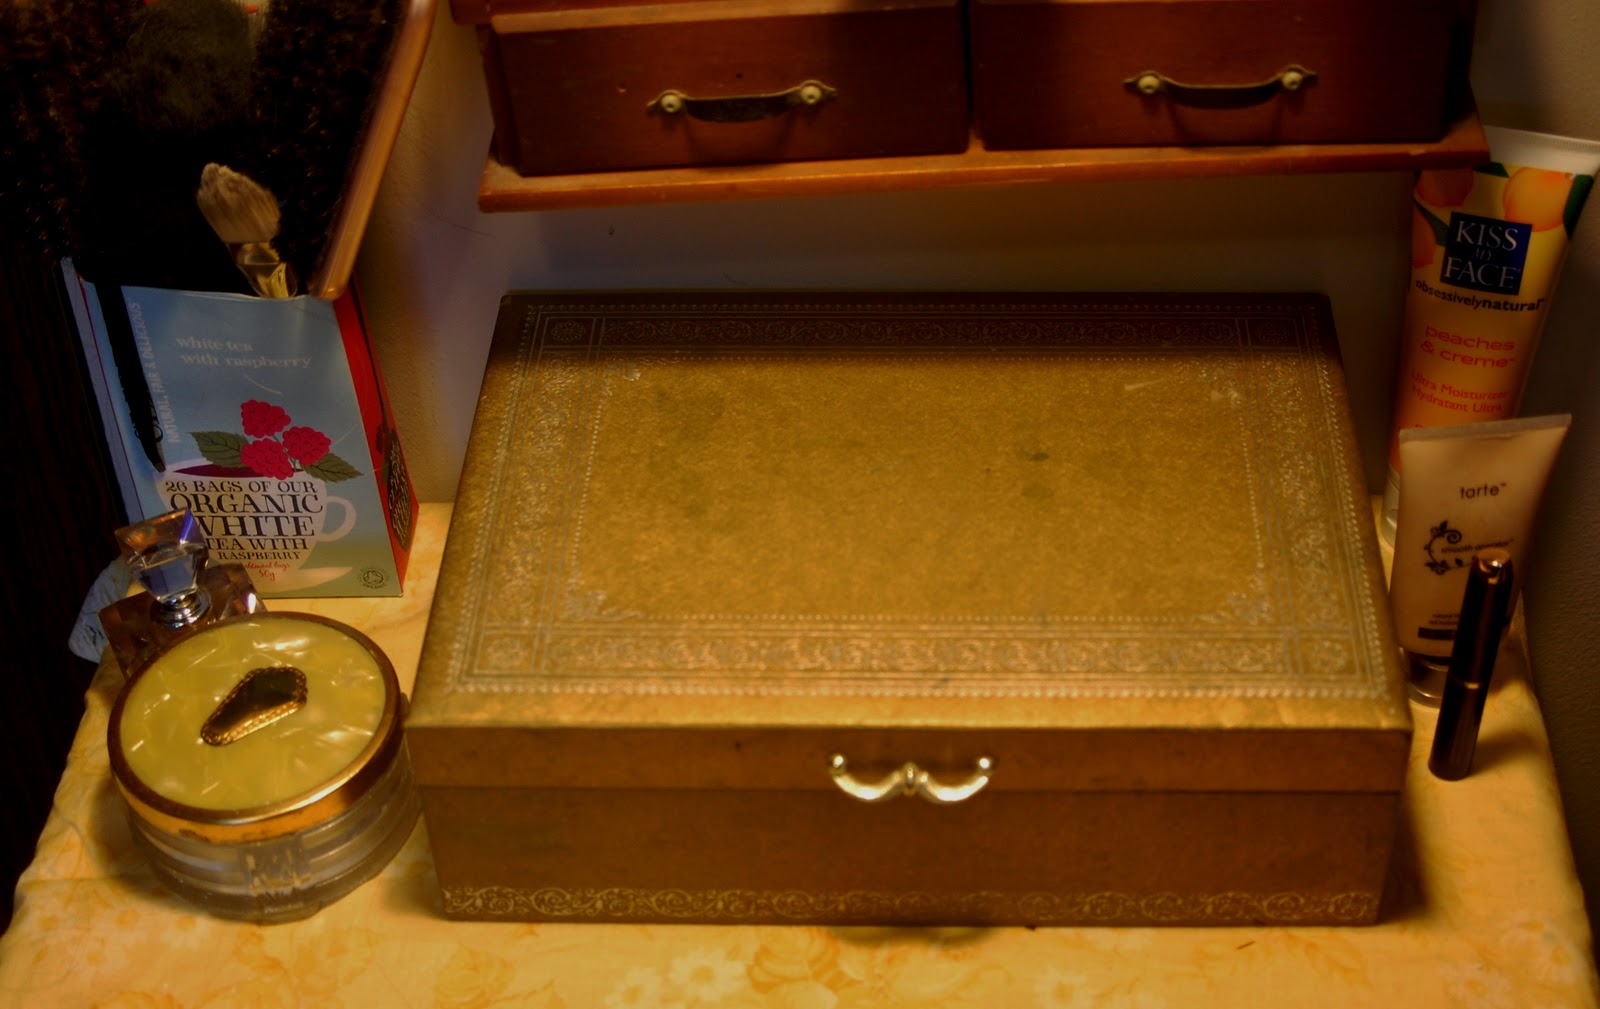
I use natural makeup on a daily basis, but I do use "normal" makeup when I'm going out . My "normal" makeup I keep in an old jewelry box. 

And this is the top of the dresser located beside my vanity. It holds my jewelry and most of my hair stuff. 
Closeup on my three-tiered tray of hair stuff. I love this thing!

And that's it! I love sitting there getting ready in the morning. It always puts me in a better mood when I take the time to properly get ready. 

Wednesday, October 19, 2011

Hair Styling Cabinet

I cleaned out the mirrored medicine cabinet in my bathroom and turned it into a hair styling cabinet! It now holds my most frequently used foam rollers, pins, clips, rags (for rag curling), styling combs, a head scarf (for wearing over a set at night), and my spray bottle (which is filled with water+lemon juice, which helps hold styles a little better than just water). 

 I used canning jars to store my smaller rollers and rags, and candy tins for my clips and pins. The inspiration images are glued to magnets so they are easy to change and move around.  


That's All.

Thursday, August 11, 2011

Home Decor (1959)

Here are some lovely pictures of home decor from my 1959 Good Housekeeping Needlecraft book. I'm normally not a big fan of 50s/60s decor but I quite liked these images.

 A sewing closet. Perfect if you don't have space for a sewing room.
 I love the needlework on this chair!

 I'm not sure if I hate this rug or love it...
 Every bathroom should have a vanity table! I wish I had space for one in my tiny bathroom...
I must learn to tat so I can make pretty tablecloths like this one.

That's All. 

Saturday, July 16, 2011

DIY Secret Lampshade

Remember in my last post when I said I craft when I can't sleep? Well it's 1:40am and I'm wide awake. While I was browsing the internet I found this cute idea for a lampshade. I loved the concept but I don't really have money to throw away on a new lampshade. So instead I created my own (removable) version using my existing bedside light.


The shapes appear when the light is turned on and disappear when it's turned off!

Materials:

  • A light-coloured lampshade (mine is from Ikea)
  • Some black card-stock
  • Some invisible tape

Step 1) Cut out your desired shape(s) from the card-stock. I went with some simple hearts I cut freehand, but you could get fancier and use an x-acto knife to cut out a more elaborate design.
Step 2) Decide where you want to place you shapes and tape them to the inside of the lampshade. You shouldn't need very much tape per shape.
Step 3) Turn on your light and admire your new "secret" lampshade.


Wednesday, February 2, 2011

My Sewing Room

The roads were terrible when I woke up this morning. My boss had already told me not to come in if the roads were bad so I stayed home. This meant I could spend all day inside doing nothing, which I did :D

Well I suppose I shouldn't say "nothing" since I got a lot of knitting done, and I also managed to snap a few quick pictures of my recently made-over sewing room. My "sewing room" serves a variety of functions. It is a place for me to watch movies, hang out with friends, store a lot of my stuff, and is sort of a hallway to our upperdeck. Which all these other functions, it perhaps isn't the best room for sewing. Still, I love having a space to relax and create something beautiful. So without further ado here is what my sewing room now looks like:
Bird's eye view of my work space. The craft show sign I actually found in the middle of the woods. I have to sewing standing up due to the height of the counter, which doesn't help the straightness of my seams...


On the back of my door I have re-purposed a broken embroidery hoop and some clothes pegs to create an "inspiration board".
1930's hats make any space beautiful.

I use a thrifted silver tray and a piece of vintage fabric to decorate my folding wall table.

Ribbon storage and antique postcard display.
This "side table" is actually a small stool with a box and a tray on top. I store most of my knitting supplies in the box.

I love this trunk for storing fabric and materials for sewing projects.

Where do you ladies sew/craft/be creative? I just love looking at other peoples work spaces so if you feel like doing a post in response to this please leave me a link in the comments :)
I would just like to give a big thank you to Betty2Tone Vintage for giving me a Stylish Blogger Award. Since I just did this one a few posts back I won't bore you with more facts about myself. But thank you!

That's All.

Saturday, December 25, 2010

Have Yourself a Merry Little Christmas!

Merry Christmas!!!
I hope everyone's holiday is going well. I am finally enjoying a much needed rest. Yesterday we hosted the Christmas celebration for my moms side of the family. We were supposed to be visiting my dads side of the family on boxing day, but due to my uncles work schedule, we are no longer sure when we will get to see them.
Anyways, yesterday went better than expected. My cousin was recently married, with means there was a lot more people to entertain than normal. After scrambling to try and find enough table settings, chairs, and food for about 11 people, we settled down to a nice evening of chit-chat and food.

I was going to wear my Grandmothers old dress but due to fear of my uncles and cousins dogs accidentally tearing extremely delicate fabric I decided instead to wear this 1950s dress from Adelines Attic (and avoid the dogs as much as possible).
Not enough matching plates? A neat trick is to use a few plain white ones and place a small plate from the main set on top. This allows for a cohesive look, without needing to buy new plates!

I am always in charge of dessert making. This year I did a Gingerbread cake with Eggnog sauce, a Cherry Candy Cane Jello dessert (for lactose intolerant family members), and various other little chocolate goodies.

My parents, grandmother and I gathered around the tree to open our presents this morning. I got some lovely things (including some vintage dresses!). Here is a quick snapshot of a few things and one of the lovely wrapped gifts. I went eco-friendly this year and wrapped all my gifts in magazine pages.
Now I am off to stuff my face with left over goodies. This has been a very lazy Christmas day, and I couldn't have asked for a better present.

That's All.

Thursday, September 23, 2010

And without further ado...

ROOM PICTURES!!!
I couldn't get a wide enough shot of everything but this will give you the basic idea.

This is the view from the door: 3 "bookcases" on the left, desk on the right, bed in front of the window (also on the right side), vanity at foot of bed, closest on same wall as door.

My Bed! I decided to give my new bedding a try after I learned my walls would be yellow this term. I managed to find some vintage pillow cases that match my comforter cover exactly!

Bedside table.

And this is my desk where I do all my studying. Not my favourite desk, but all my furniture has to be able to come apart for transport (and storage for the terms I am at home). I am not done "staging" my desk yet, but this gives you the basic idea.

Ribbon!

Vintage Alarm Clock on one of my textbooks.

My closet. Dresses on the left :D

Close-up of one of the shelves on my bookcases (from the first picture). I love these hat boxes I got from Ikea!

Mr Owl sits proudly on my bookcase. He was my "going back to Waterloo" gift from my Grandmother.

Since I don't have a dresser this term my bookcases store a variety of things (such as my jewellery and hair accessories).


Close-up of my vanity. I will be doing a post later about making your own vanity (cheaply!), so stay tuned.

PB approves of his new home.

That's All.